Category
The ‘category’ taxonomy allows you to organize posts by grouping them into different categories. These categories can be accessed on your site via URLs like ‘/category/name’.
Let’s categorize some of your test posts to demonstrate how this works. WordPress Admin Manage Posts.
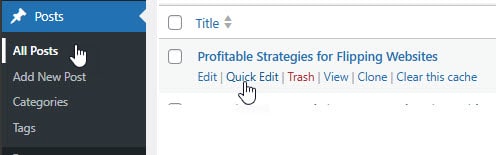
Click on the Posts button > click the Quick Edit > check the Categories box.
{+} Under are three links that say:
Edit – Quick Edit – Trash – View.
Click on Edit to edit one of the posts.
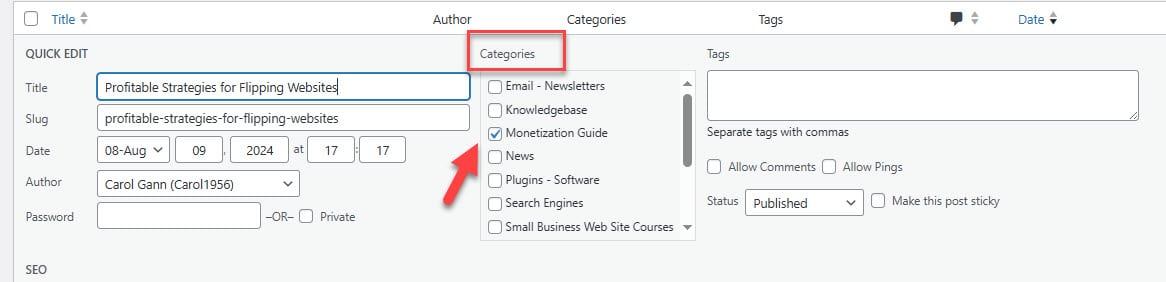
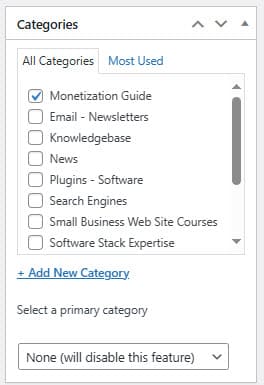
On the right side of the Edit Post screen, you’ll see your Categories. Select one by clicking the box next to it, then click UPDATE. Repeat this process for your other test posts, assigning each to a different category.
Next, click View Post at the top of the page to see your categories listed in the sidebar. If a category is missing, it usually means there are no posts in it. This is a default WordPress function, so don’t worry. Once you add a post to the “missing” category, it will appear on your web pages.
Click on one of the categories to be taken to a page dedicated to that category, where you should see the posts assigned to it. This is a generated Category page.
Finally, click on the Archives for the current month. You’ll visit a generated page listing your posts in chronological order for this month, specifically for today. These are two methods of finding the same information.
BACK TO OUR: