Orlando Web Wizard offers WP Toolkit within its hosting services, providing a unified management interface to create, configure, and manage WordPress websites directly in cPanel.
To access WP Toolkit, log in to your cPanel account on the Orlando Web Wizard Server.
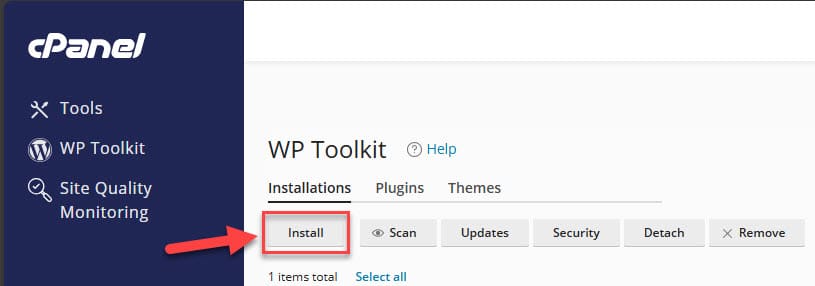
Installing WordPress
To install a new WordPress installation, go to WordPress and click Install.
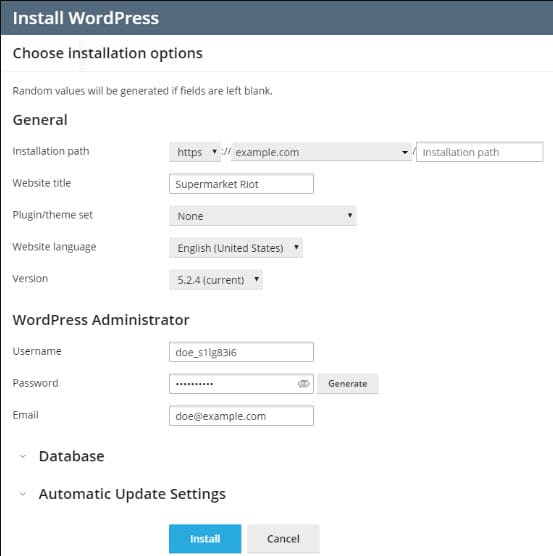
Here you can:
Install the latest version of WordPress with the default settings by clicking Install.
Change the default settings (including the desired WordPress version, the database name, the auto-update settings, and more) and then click Install.
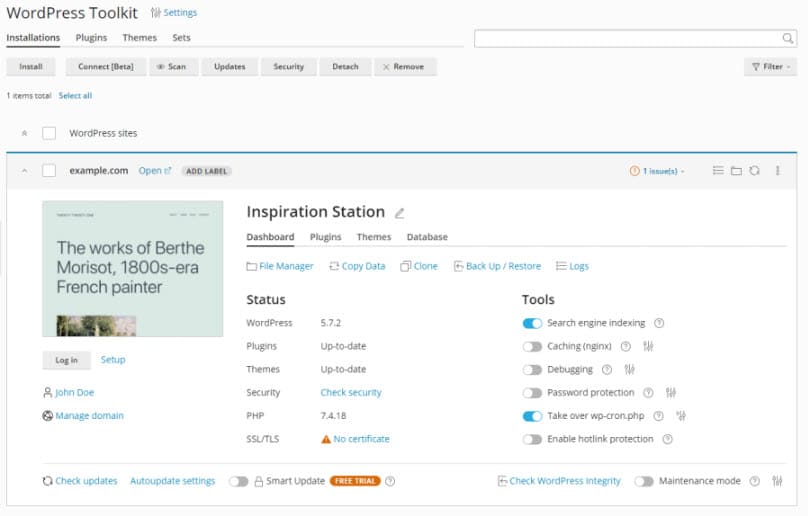
WordPress is now installed. You can find the new installation in the list of existing WordPress installations in WordPress.
Specifying One Database Table Prefix for All WordPress Installations on the Server
WP Toolkit generates random prefixes of the database tables for each new WordPress installation on the Orlando Web Wizard server. You may want to change this behavior and specify one default prefix that all new WordPress installations will use.
To specify the default prefix of the database tables:
Go to WordPress > Settings.
Next to “Default database table name prefix”, specify the desired prefix and then click Save.
To return to random prefixes, clear the “Default database table name prefix” field and then click Save.
BACK TO OUR: